September 24, 2026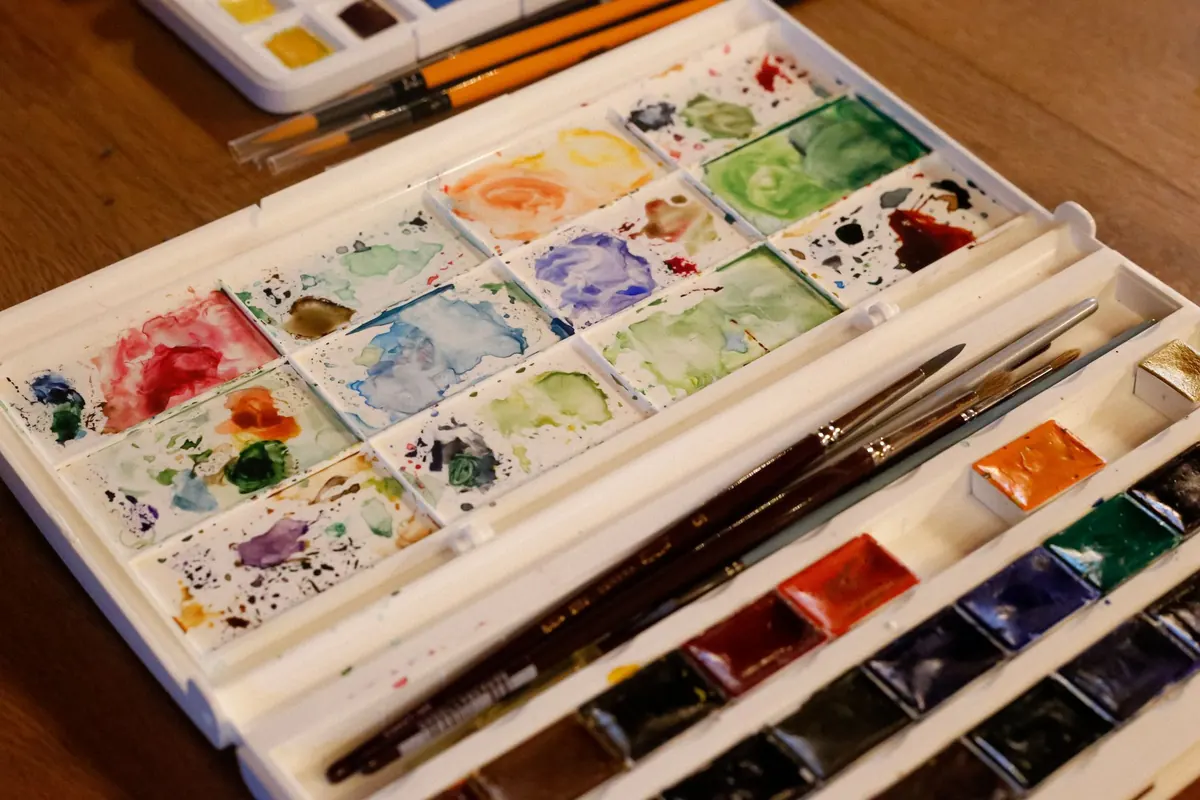
A single leaf will teach you almost everything watercolor asks of you: how much water to carry on the brush, how pigment settles into the texture of the paper, how light wraps around a curved surface. It also has one big advantage over a flower or a portrait — if the painting goes wrong, you walk outside and pick another one.
The five steps below are the sequence I use in beginner workshops. They take about forty minutes for a first attempt and work with any leaf you can find: ivy, laurel, oak, a rubber plant, a weed growing out of a pavement crack.
Why Leaves Are Worth Your First Hour
Leaves give you repetition without boredom. A rose is a one-off event; a branch of oak holds twenty leaves, and the twentieth will be better than the first. Because the shape is simple — a midrib, two curved edges, a stem — you can concentrate on the things that actually decide whether a painting looks real: water control, value, and edge quality.
They are also forgiving. A slightly wobbled edge reads as a natural leaf; a slightly wobbled petal reads as a mistake. And you can keep the real leaf beside your paper the whole time, which is the fastest way to learn to see.
What You Need on the Table
Skip the hundred-color set. Four pigments, two brushes and decent paper will carry you through your first dozen leaves.
- Paper: cold-pressed watercolor paper, 140 lb (300 gsm) or heavier. This matters more than anything else on the list. Thin paper buckles, and buckled paper makes every wash look patchy.
- Brushes: one round with a good point, around size 6, and one small round, size 2 or 3, for veins.
- Pigments: a cool yellow (lemon or hansa), a warm yellow (new gamboge or Indian yellow), a blue that leans green (phthalo or cerulean), and burnt sienna. A little payne's grey or a mixed purple is useful for the deepest shadows.
- Everything else: two jars of water — one clean, one for rinsing — a soft rag or sponge, a palette with wells, a 2H pencil, and a leaf.
No black. Botanical greens come from mixing, and tube black flattens them instantly.
What "Realistic" Means in Watercolor
Beginners often try to reach realism by adding detail. It works the other way round. A leaf looks convincing when three things line up: the shape is accurate, the values are in the right places, and the edges vary — crisp where the leaf turns toward you, soft where it curves away.
So resist drawing every vein. Paint the big shadow shapes first and let the eye fill in the rest. If you are painting a specimen for identification rather than decoration, accuracy of structure matters more than atmosphere, and a sharper, more diagrammatic approach will serve you better.
The Five Steps, Start to Finish
Step 1 — Draw the Midrib, Then the Outline
Start with a faint pencil line for the midrib, angling across the paper the way the leaf sits. Mark the widest point and the tip. Only then join the marks with two curved lines. Check proportions by holding your pencil up against the leaf: how many times does the width fit into the length? Most leaves sit somewhere between two and four.
Keep the pencil light. Dark graphite shows through pale washes and cannot be removed without damaging the paper.
Step 2 — Mix Two Greens, Not One
Make two puddles on the palette. The first is a warm green: yellow with a touch of blue and a hint of burnt sienna. The second is cool and deeper, for shadow. Real leaves always contain both — sunlit areas lean yellow, shaded areas lean blue or grey.
Test each mix on scrap paper and hold it beside the leaf. Squinting at both helps you compare values rather than colors, which is where most mismatches actually live.
Step 3 — Lay the First Wash in One Pass
Load the size 6 brush with the warm green, mixed to the consistency of skimmed milk — wet enough to flow, not so wet that it forms a puddle. Starting at the tip, pull one stroke down one side of the midrib, then reload and do the other side. Work quickly and stop short of the outline so the wet edge has somewhere to sit.
Then leave it alone. This is the hard part. Going back over a drying wash lifts pigment and creates streaks that no amount of later work will hide.
Step 4 — Drop Shadows In While the Paper Is Damp
While the first wash is still tacky — not shiny, not dry — touch the cool green into the areas that turn away from the light: along one side of the midrib, at the base where the blade meets the stem, and wherever the leaf curls. The pigment blooms outward on its own. Tilt the board slightly and let it move.
One or two drops is usually enough. If the wash has already dried, rewet the area with clean water, wait a few seconds, then add color.
Step 5 — Veins, Edges and Stem on Bone-Dry Paper
Wait until the paper is completely dry; touch the back of your hand to it if you are unsure. With the small brush and a slightly darker mix, draw the main veins as broken lines, thicker near the midrib and fading as they reach the edge. Vary the pressure — a uniform line looks printed.
Strengthen the outline only where the leaf turns away from you or overlaps a lighter leaf behind it. Paint the stem as a small cylinder: one side light, one side dark. Then stop.
Five Habits That Flatten a Leaf
- One green everywhere. Use a warm and a cool version, and let them meet.
- Too much water. If the paper shines, wait. Blooms and backruns come from impatience.
- Outlining the whole leaf. A continuous dark line kills any sense of a light source.
- Filling in veins like a diagram. Veins should get lighter and thinner as they approach the margin.
- Judging it wet. Watercolor dries a shade lighter and much flatter. Walk away for ten minutes before deciding something is ruined.
Start With the Leaf in Front of You
Pick one leaf — not a beautiful one, just one that is handy — and paint it three times on the same sheet: small, medium, and larger. Give yourself twenty minutes for the first and no more than ten for the third. The speed forces decisions and stops the fiddling.
Date the sheet and keep it. Paint a different leaf tomorrow, and another the day after. Within a week you will have a small library of greens, a feel for how much water your brush holds, and enough confidence to try a sprig with three leaves, then a branch, then a full page of botanical study.
Photo: betül nur akyürek / Pexels